Feeling Overwhelmed by the Idea of a New HVAC Installation?
If your current system has seen better days or simply can’t keep up with your home’s comfort demands, you might be facing the daunting decision to replace it. But what exactly happens during the HVAC system installation process? How long will it take? What will the installers do in your home?
At Trident Heating & Cooling, we believe you deserve to feel informed and confident—every step of the way. This guide walks you through the full HVAC system installation process from start to finish so you know exactly what to expect.
👉 Need help choosing the right HVAC system or ready to schedule an install?
Step 1: In-Home Consultation and Load Calculation
Before anything gets installed, the process starts with a home evaluation. A qualified HVAC technician will:
- Assess your current heating and cooling setup
- Measure square footage, window sizes, insulation, and ductwork
- Perform a Manual J Load Calculation to determine the correct system size
Why it matters:
Oversized or undersized systems lead to higher utility bills, uneven temperatures, and early breakdowns. Precision in this phase sets the stage for long-term comfort and efficiency.
Step 2: System Selection and Quote
Based on your home’s layout and your comfort preferences, your technician will recommend the right system options—whether that’s a central AC unit, heat pump, furnace, or ductless mini-split.
You’ll receive a detailed quote including:
- Equipment cost
- Labor and installation charges
- Warranty details
- Estimated energy savings
Pro Tip: Ask about energy-efficient models with high SEER or AFUE ratings to maximize performance and lower operating costs.
Step 3: Preparing for Installation Day
Once you've approved the proposal and scheduled the install, here’s how to get your home ready:
- Clear pathways for easy access to indoor and outdoor units
- Move valuables and furniture from work areas
- Secure pets in a safe location away from the job site
- Plan for temporary temperature fluctuations during the install
Your HVAC installer may also pull local permits if required.
Step 4: Removing the Old System
On installation day, the team will begin by:
- Safely disconnecting and removing the old HVAC unit
- Disposing of refrigerant per EPA guidelines
- Removing or modifying ductwork if needed
Note: This phase can get noisy and may take a few hours, depending on the complexity of the system being replaced.
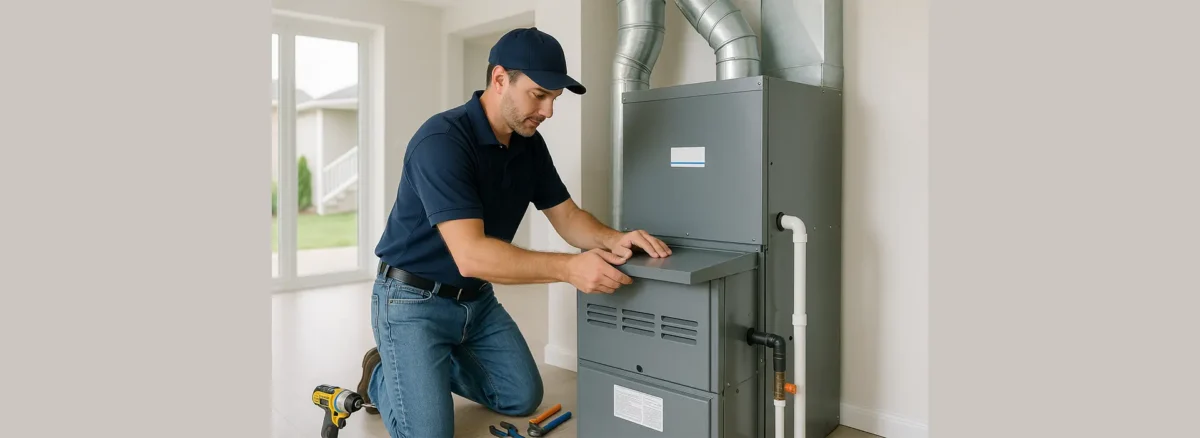
Step 5: Installing the New HVAC System
Now the exciting part—getting your new system in place! The installation typically includes:
- Placing the new condenser, air handler, or furnace
- Connecting refrigerant lines, electrical, and drain lines
- Updating or sealing ductwork as needed
- Installing smart or programmable thermostats
Pro Tip: Make sure your installer is licensed and insured to ensure a safe and compliant setup.
Step 6: System Testing and Commissioning
After installation, your technician will test all components for proper operation:
- Ensure airflow is balanced in all rooms
- Check refrigerant charge and electrical connections
- Confirm thermostat accuracy and functionality
- Run a full cycle of both heating and cooling modes
This phase ensures your system is fully optimized for comfort and efficiency before the job is considered complete.
Step 7: Final Walkthrough and Homeowner Education
Before leaving, your installer will walk you through:
- How to use your thermostat
- Filter replacement schedules
- Maintenance tips
- Warranty and registration instructions
You'll also receive any relevant paperwork and contact info for service or warranty help.
👉 Want to keep your system running at peak performance? Ask about Trident’s HVAC maintenance plans.
How Long Does the HVAC Installation Process Take?
For most residential homes, installation typically takes one full day, though more complex setups (or add-on services like ductwork or zoning) may require two.
Here's a general timeline:
|
Task |
Estimated Time |
|
Old system removal |
2–4 hours |
|
New unit installation |
4–8 hours |
|
Testing and walkthrough |
1–2 hours |
Bonus Tips for a Smooth HVAC Installation
- Choose an experienced contractor. Not all installers are created equal.
- Don’t skip maintenance. Seasonal tune-ups extend system lifespan and efficiency.
- Consider smart upgrades. Zoning systems and smart thermostats add convenience and savings.
- Read reviews. Check local ratings to ensure great service and reliability.
Ready to Upgrade Your Comfort?
Now that you understand the HVAC system installation process step-by-step, you can plan your replacement with confidence—without the guesswork. Whether you're upgrading an aging unit or building a new home, Trident Heating & Cooling is here to help every step of the way.
👉 Contact us today to schedule a free consultation or get a custom installation quote.